
For some time, I’ve been using Codebench ARM GCC tools for developing software for ARM microcontrollers. As IDE, I used plain Eclipse, which I had to configure by myself. It worked pretty well, and there is nothing wrong with this. Anyway, sometimes it gets a little annoying to keep an eye on configurations and manual settings. So I decided to give a try CooCox IDE which claims to be free and open. It seems that it already supports all the microcontrollers I like to use.
Along with this change, I am also moving to a different GCC tool collection. Codebench free tools are great, but on the other hand, there are some limitations. One of them is release times. They release their free tools twice a year, so updates and other improvements cannot reach as fast as you’d expect.
Another thing I am concerned – disabled hard float functionality. If you would like to ta take advantage of the floating-point unit in Cortex-M4, then you get stuck. If you are not using a hardware floating-point module, this tool works fine, and you can stick with it. Anyway, I wouldn’t say I like limitations, especially with free tools, so I switch to GCC tools from launchpad.net. It’s been here for a while and seems quite popular among developers.
Installing GCC tools
Download the latest release from the launchpad.net website. If you are a windows user like me, choose the the…xx-win32.exe file. Then run to install. Installation steps are pretty intuitive. I suggest installing it to the standard directory where the name is without spaces instead of a default path.
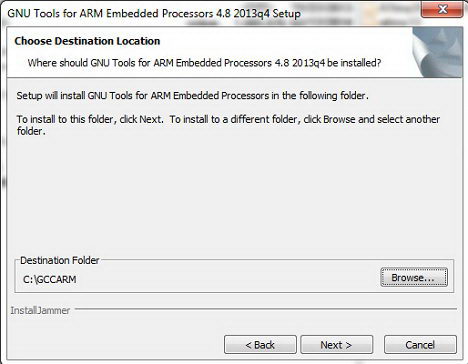
This may prevent problems that may arise due to folder names.
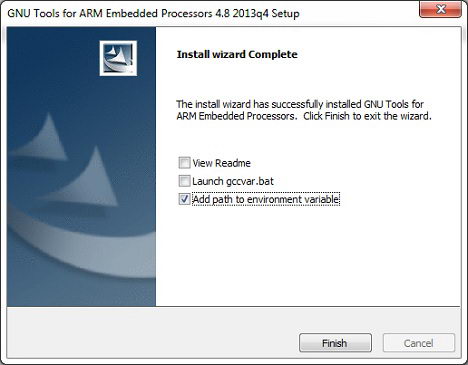
After setup ends, you will be prompted to select to add the path to the environmental variable. This is necessary if you want to run gcc from anywhere. There are two options – launch gccvar.bat or let it do by the installer:
Tools are set. Now install the CooCox IDE.
Installing CooCox IDE
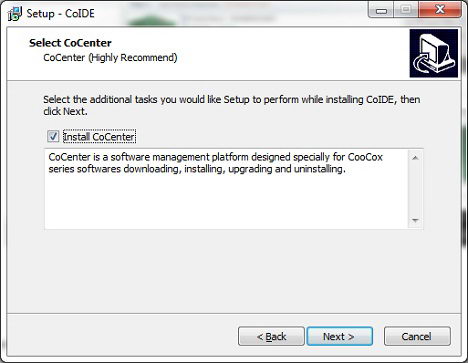
CooCox IDE doesn’t come with the built-in compiler; this is why we installed GCC tools first. So go to the website and download the latest CoIDE. There are a couple of options – one is to use CoCenter, which takes care of the process. Another option is to download the whole setup file, which is my choice now. The install file is pretty heavy – ~360MB. Install the software as the installer is quite intuitive. When prompted, select to install CoCenter, which will take care of software upgrades and other maintenance:
Setting up the first project with CoIDE
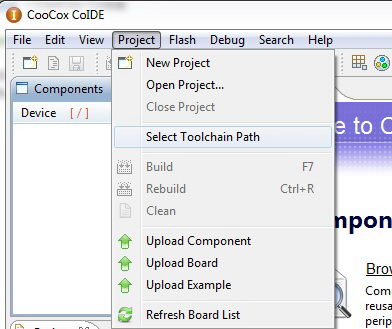
At first, you need to do when you start CoIDE to indicate where GCC tools are installed. For this, go to the menu Project->Select Toolchain Path.
Then enter the path to the location where arm-none-eabi-gcc.exe is located:

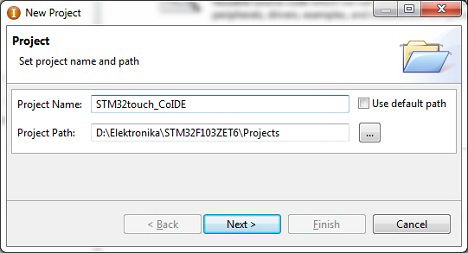
So nothing new I can say. Anyway, I would like to compile one of my current project files that were published earlier. Let us take one of our latest examples from STM32F103ZET6. First of all, let us create a new project and enter Project Name and Path:
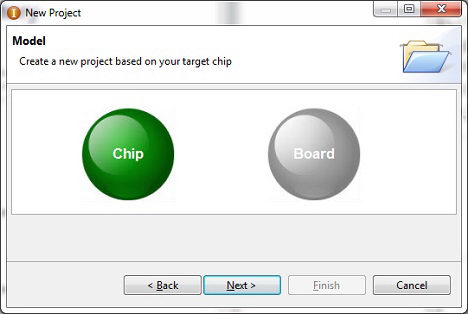
Then in the second window select
Select chip as a target:
Next, we select our particular chip from the list:

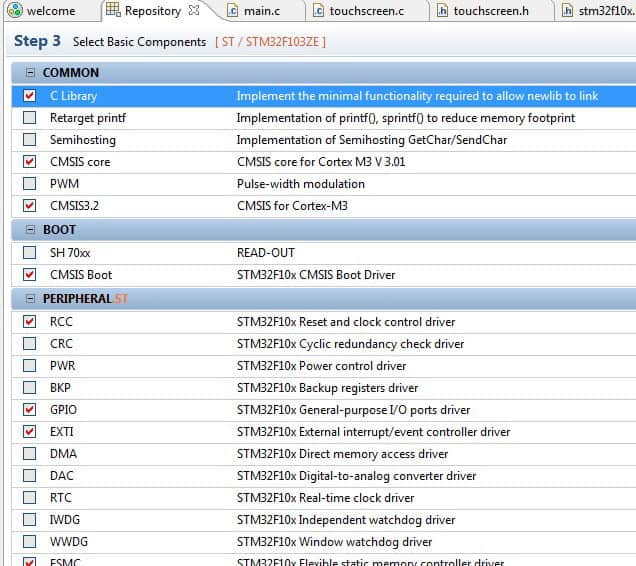
And click Finish. You will get to a project development view. Now things get exciting and pretty convenient. We can see a new tab named repository where we can select libraries like CMSIS and Peripheral. All you need is to checkboxes that are going to be used. For the first time, checked components would be asked to download. This way, things are kept up to date. But bear in mind that most of the elements are developed or updated by community users. So if you are not very sure, then add your own to the project tree. Anyway, let’s select CMSIS3.2. And peripheral libraries that were used by this project:
Next is to import our written drivers for buttons, LCD, LEDs, touch, USART, and others. For this, we click to add files by dragging and dropping the Drivers folder in the project tree. The link to files will be created. Also, add other source files if needed.
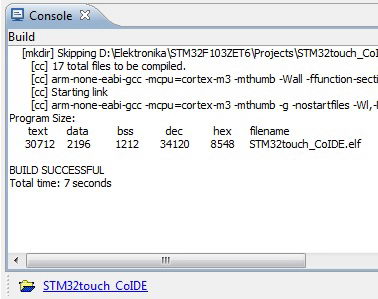
After all, files are included, you can change project settings by entering menu View->Configuration where you can change compile options, optimization level, linker, debugger. After you are set, go ahead and click the Build button. You should compile and get Build successful message:
If you had your cable connected to the board and selected the right tool in the configurations menu, you can upload binary to flash and have it working. Alternatively, you can start a debugger if you have connected one of your debugging interfaces like ST-Link or J-Link.
In the end, I must say that CoIDE works very well. Many things that I had to do manually it does it automatically. With a few clicks, you can select the right libraries, set up the debugger. There are a growing number of working examples, drivers, and libraries. The community contributes a lot by adding and updating libraries, drivers. All you need is to use them. The only downside with this IDE is that it supports a limited number of devices and doesn’t keep up with new ones. For instance, there is still no support for TI Tiva series microcontrollers that replace the LM series. So you cannot create a project in this IDE for Tiva C Launchpad. But if you follow the forum, you can find that it’s coming.
So if your device is listed, I think CoIDE is a great Eclipse-based IDE for your projects. If not, go with the command line or use another IDE and set everything by yourself.
You can download project files here (STM32touch_CoIDE.zip) if you want to try this tool.