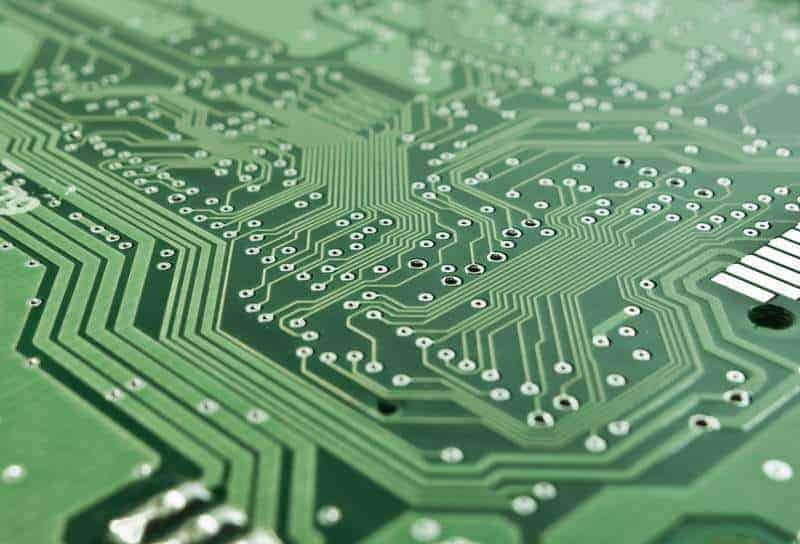
Connect 6 LEDs using 3 microcontroller pins

Sometimes you need more than you have. I am talking about microcontroller pins. You have to connect 6 LEDs, but you have only 3 microcontroller pins available. To use another microcontroller isn’t always a solution using decoder circuitry isn’t necessary as well. There is a simple hint on how to do this: Connect diodes to the microcontroller as follows: Now, look – if you set one pin to “1” and second to “0” (leave third pin high state – as input pin), then only one led lights on. You can light two LEDs by setting the third pin as an output and state “1” or “0,” which depends on which LED you want to light.

Continue reading

Testing Your Embedded System

AVR_DDS_saw_tooth

Every time you are making some circuit or more complex system, you always do some testing to ensure that your electronic creation is working properly and exposing it to publicity. Let’s say you are constructing some robots. Then a typical list of the testing task may be as follows: Stability tests using various working modes and critical supply voltages (like 4,75 and 5,25V); Start-up testing purpose is to check system readiness to accept commands after power-up; Checking correctness of executed commands; Checking correctness of sensors; Sometimes you will need to prepare good documentation where every node reliability is calculated. Also, testing methods of each node may be included in the documentation. Of course, many devices may work in a wider range of supply voltages, but there are always some electronic components that need more than 5% stability.

Continue reading

Microcontroller Brown-out detection

Mostly all microcontrollers have built-in Brown-out Detection (BOD) circuit, which monitors the supply voltage level during operation. BOD circuit is nothing more than the comparator, which compares supply voltage to a fixed trigger level. If the microcontroller doesn’t have an On-Chip Brown-Out detector, then there can be an external circuit used : In the image above, there is a discrete brown-out detector circuit. There are particular IC where additional delay circuitry and hysteresis used to normalize supply voltage may take some time in a real word. Such ICs are cheaper than one built from discrete components.

Continue reading

Radio Frequency Identification RFID

There are two types of RFID devices: Active and Passive. Active devices have a power source built-in, which supplies the transmitter. The transmitter is triggered by sending the signal to an RFID device. These devices have their own code and can transmit signals in desired time intervals. Active RFID devices are good in defining locations of objects or sending some information about a particular place (RFID-based location determination). Active RFID devices use high frequencies (455MHz, 2,45GHz, or 5,8GHz) – working range about 20 – 100 meters. The most common are passive RFID. They don’t need a power source. Passive RFID devices are low frequency(124 – 135kHz – low) and high(13,56MHz – 960KHz – high; 2,45GHz – UHF). The working principle of low and high-frequency devices differ. Simultaneously, low-frequency readers generate a magnetic field that induces a current in the RFID device antenna. The chip inside the RFID device modifies this magnetic field, which is reread by the reader. The working distance of such a device is about 35cm.

Continue reading

What is surface mounting?

Simply talking surface mounting is a soldering technology where the component is soldered directly to a series of solder pads called a footprint. It is different soldering technology from through-hole, where component leads are inserted into holes of the board. The footprint is a series of pads that conform to the lead layout of packages of surface mount devices (SMD). Surface mounting has several advantages over through-hole technology. First of all the board become much smaller. So smaller boards and more dense placement of elements reduce costs. Because of higher placement density, traces between components becomes shorter. It lowers parasitic inductance and capacitance.

Continue reading

Control memory sections using AVR GCC

Sinewave DDS signal

If you are programming AVR microcontrollers in C, usually don’t think about how the compiled program is stored in microcontrollers’ flash memory. The compiler organizes data in the way it looks optimal. But sometimes, you are working with programs where you need to code chunks located in specific program memory locations. For instance, I faced this problem while developing an AVR controlled signal generator. I wanted to make an efficient and compiler independent main loop where the signal has to be read from flash memory and transferred to port. I managed to use the inline ASM function, which does the job: The linker produces ASM code like this:

Continue reading

How to measure signal period using microcontrollers

Measuring the signal period is a common problem in embedded systems. This can be measuring the time between two events or measuring signal frequency f=1/T and so on. Measuring the time interval or period is based on comparing event time t with discrete-time usually produced by a timer. This usually is done by filling the event time t with discrete-time intervals t. According to this, the discrete-time signal period has to be much shorter than event time: t<< t. Then counting these short time intervals, we can determine the event time.

Continue reading

Why to move from ASM to C

ASM language is a low-level programming language. It takes tons of time to develop embedded programs. Now even 8-bit microcontrollers aren’t as small as they were earlier. The program memories are climbing to a megabyte(s). Program structure becoming more complicated because of the bigger functionality demand. This is why it is better to use higher-level programming languages like C. By using C language, you are not overwhelmed by details. You don’t always have to think about hardware logic to be able to program its restricted tasks. It is better to give this work to the C compiler, which helps you avoid bugs at the silicon level.

Continue reading

Shelling The Intel 8-bit Hex File Format

Intel 8-bit Hex File Format is the most common hex file format used globally, as far as I know. There is also Motorola Hex file format and maybe others. Creating applications with AVR-GCC, we usually select ihex output file format what means Intel hex file format. Let’s go through it and see what’s inside. It is simple as 6 and 6 (six and six) because each Hex file line consists of six parts. And there can be 6 record types in the hex file. Lets go through all six parts of each line:

Continue reading

Easy start with AVR EEPROM using WinAVR

AVR microcontrollers are loaded with some amount of EEPROM (Electronically Erasable Read-Only Memory ) memory. This is a handy feature allowing developers to store program parameters like service information, constants, menu strings, etc. Atmel states that AVR EEPROM memory can be rewritten over 1000000 times. Reading is unlimited. In this article, I am going to show how to store data to EEPROM by defining variables. For this, we need to include eeprom.h header from avr directory (#include “avr/eeprom.h” ). Then we can write a simple variable declaration using the simple attribute EEMEM: EEMEM keyword indicates to the compiler that variables are stored in EEPROM, and it creates a separate .eep file that has to be written to chip separately. Se what I have got after compiling the above code: You can see compiler information about compiled code sizes. The bold line is indicating the size of occupied EEPROM memory. In this particular case, we see that size is 8 bytes: one-byte variable, one word (two bytes), and a five-byte array – total 8bytes. Open .eep file located in the project folder. The compiler compiled Intel Hex File of EEPROM data: :0800000054657374005555109E :00000001FF The first line shows 8-byte data stored at…

Continue reading