
Home automation is an exciting thing once installed and appropriately maintained. You can find many available out of box home automation solutions that are not free. With some technology understanding enthusiasm, you can start building your own system.
This post will share the necessary steps needed to set up a home assistant MQTT sensor on raspberry pi.
Building a home automation system from scratch may be a tedious job. You need to take care of many things, including data management, security, communications, user interface, scheduling, and many other tasks. Imagine the coding and knowledge, which is required to make all things fork fluently. Additionally, a sound home automation system should be capable of handling DIY and purchased devices such as light controllers, smart outlets, or sprinklers. If it connects to the internet, you should control it with the home automation system.

You could get away with a DIY solution running on the Raspberry Pi script for one or two devices such as a temperature sensor or blinds closing motor, but when things start to build up, you will start losing the battle of managing things. This is why the best solution is to use a ready home automation platform, which takes care of many things.
Best free home assistant software for Raspberry Pi
You probably are expecting a positive statement on which home automation platform is the best to use with Raspberry Pi. It would not be fair to price one system over another, because there are many great solutions with their history and communities.
I found that two major platforms are heavily maintained and are Raspberry Pi friendly – OpenHAB and Home Assistant. They both are running custom OS for Raspberry Pi. The OpenHAB is developed in Java while Home Assistant in Python 3. They are both similar in terms of flexibility, community activity, and installation. However, Home Assistant appears to be user-friendlier and requires a bit less coding and configuring.
There are even more open-source home automation systems that may be worth trying – Domoticz, Mycroft, MisterHouse, Jeedom, and smaller ones that also be attractive at some point. Anyway, this is not the post on comparing home automation systems. I think Home Assistant (HA) is a great system to start if you never tried one. In the end, we all want things to get working, and if not, expect some help in the community.
Set up Home Assistant on Raspberry Pi
The setup of Home Assistant on Raspberry Pi is straightforward. All you need is to download a prebuilt image from the list. Flash image to the MicroSD card and boot the system with LAN connected to PC. If you need a preconfigured WiFi or static IP, you need to add a CONFIG/network/my-network file with the SD card’s network settings before booting.
Apply power to Raspberry Pi and allow up to 20 minutes for it to complete the installation. During this time, It downloads the latest version of HA and configures it.
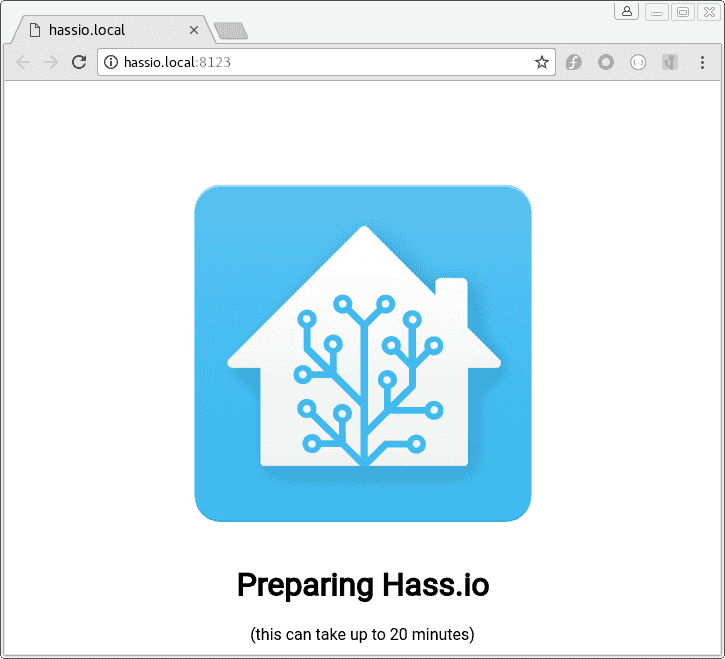
You may access the Home Automation application via the web interface by typing the browser’s address: http://hassio.local:8123. In case your router does not support mDNS, you may need to enter the device’s IP address as follows: http://192.168.0.101:8123 – be sure to type your own assigned IP.
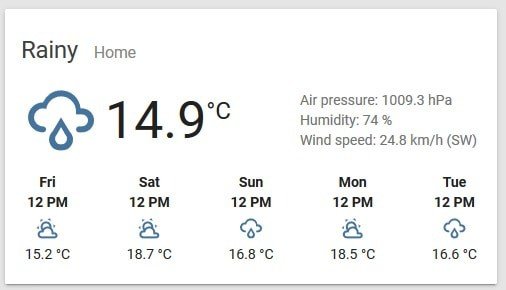
After installation is complete, you will be prompted to create a user name, which will be used to login to your HA, select your location, time zone, and other non-critical parameters. After that, the HA window opens. In the Overview window, you will tour the first data – weather information pulled according to your selected location.
Installing MQTT broker ad-on
If you plan to interface various sensors around the house, the MQTT protocol is the best choice. It allows sending short messages between devices and greatly supports different devices with LAN and Wi-Fi Capability. This example uses a separate Raspberry Pi, which reads temperature data from DS18B20 1-wire sensor and sends data using MQTT messages.
You have a couple of choices on how to use the MQTT broker. One option is to run it on a separate device or computer or install the HA add-on. Both work well, and you have less control over the add-on, which may break when performing updates. I had a bit of a hard time configuring MQTT on HA because the latest updates brought a few changes that made it challenging to deliver anonymous messaging.
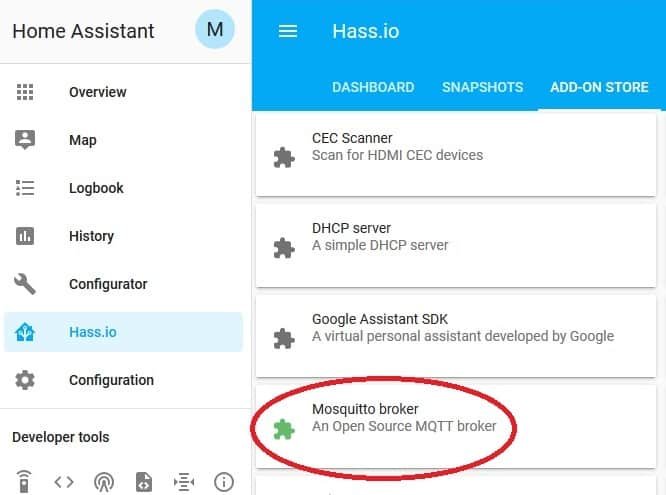
TO set up A MQTT broker on HA, go to the Hass.io menu on the sidebar and go to ADD-ON STORE top menu. Select Mosquitto broker and click install.
After it finishes the installation, you will see a Config window in the window, where you will need to make some changes. Earlier it was possible to send MQTT messages without authentication since add-on version 4.1 authentication is required. Edit Config as follows:
{
  "logins": [
    {
      "username": "mqttm",
      "password": "mqttm"
    }
  ],
  "anonymous": false,
  "customize": {
    "active": true,
    "folder": "mosquitto"
  },
  "certfile": "fullchain.pem",
  "keyfile": "privkey.pem"
}
Start Mosquitto broker.
There is also a couple of necessary configurations that are needed to make it work. At first, you need a way to edit configuration files. The easiest and fastest is to install a Configurator add-on, which enables editing configuration files on the webpage of UI. It is located in the same place as the MQTT add-on. Just select and install it.
We need to add an MQTT user to ACL (access control list), which is not created automatically. For this, we need to create a couple of files in the system. This is where Configurator editor comes in handy. Go to Hass.io->Dashboard and select Configurator and then Open Web UI.
Then browse to the share/ folder:
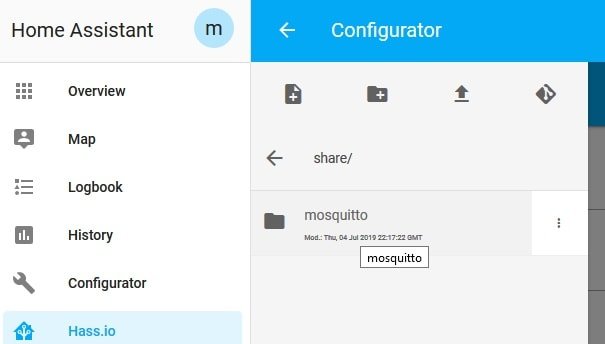
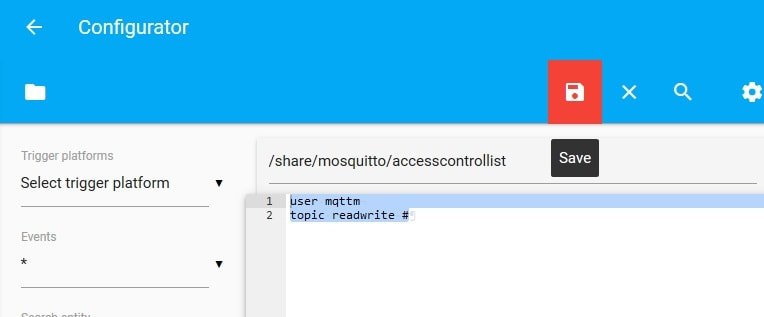
enter the mosquito folder and create a couple of files. Firs file is named acl.conf and the second accesscontrollist.
In the acl.conf enter the following line:
acl_file /share/mosquitto/accesscontrollist
and in accesscontrollist:
user mqttm
topic readwrite #
user homeassistant
topic readwrite #
Here
After editing files, do not forget to save:
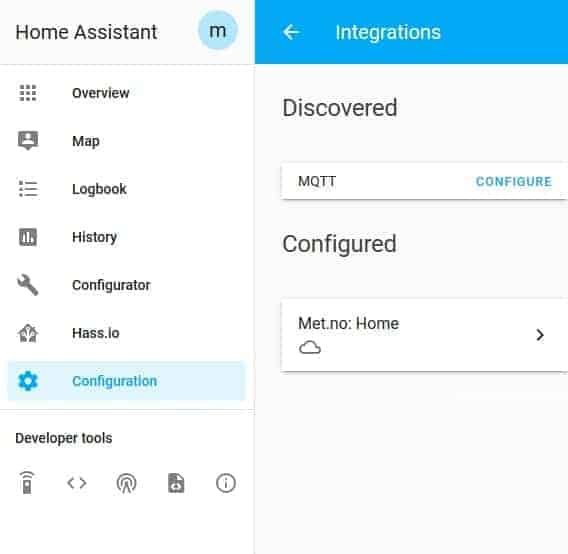
Finally, go to the Configuration menu and click Integrations. You will find that MQTT has been discovered and needs further configuration.
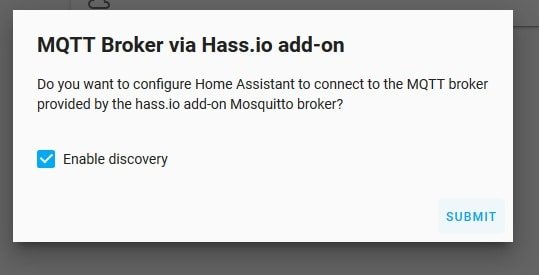
Click on Configure and select “Enable discovery,” and then click submit. This is done only once.
If everything goes well, you should see a Success message that Mosquitto broker has been configured. I hope that this process will be simplified sometime soon with the upcoming releases.
Create your first sensor on Home Assistant
Creating a simple sensor on HA is easy. All you need is to enter a few lines into configuration.yaml file. We are going to receive and display a temperature value. For this, we need to add a sensor entity in the configuration.yaml file. To this, go to Configurator as previously, open configuration.yaml file and enter the following lines of code:
sensor ds18b20:
  - platform: mqtt
    state_topic: "home/pi/t"
    name: "MQTT Sensor 1"
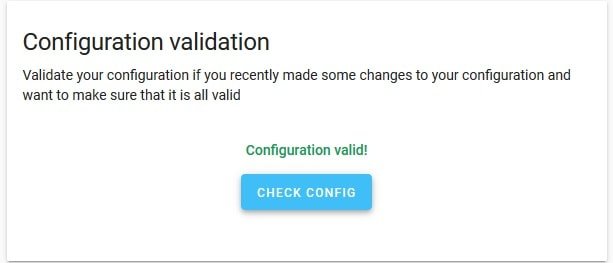
Be sure that the indentations of lines are correct. Luckily, each time you edit the configuration file, there is an option to check for errors. Go to the Configuration menu and then General. Where you will find a button Check Config.
After that always restart the server to apply new configuration settings.
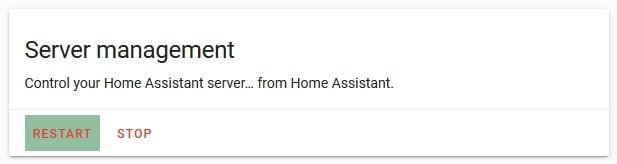
Wait for server reconnection.
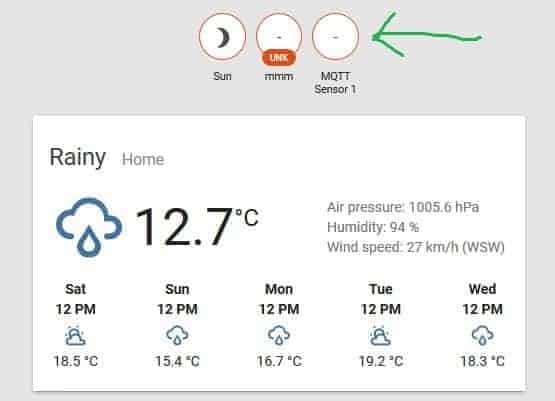
In the overview window, you will see a new sensor with no value
Testing HA sensor by sending MQTT message
Now we can proceed with values. Initially, you can test if
mosquitto_pub -h 192.168.0.101 -t "home/pi/t" -u "mqttm" -P "mqttm" -m 75
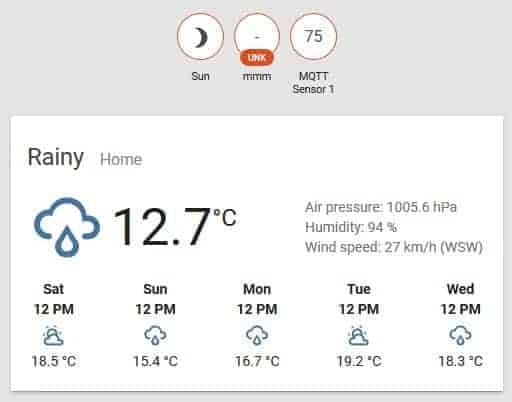
You can see that the sensor is updated with a value of 75. Once you got over your first home assistant MQTT sensor, it is time to start integrating more devices, automate, and control everything around the house.