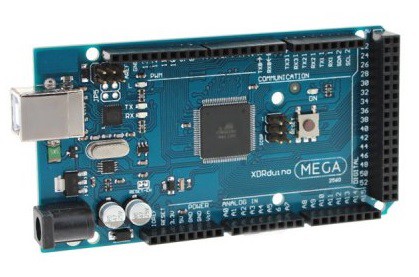
Arduino is an excellent platform for fast prototyping and building projects. But probably one of the best things here is that Arduino layout allows plugging hundreds of standard shields. Today you can probably find any type of sensor, displays, driver included in to shields. This is where comes the real power of using Arduino. Gearbest have supplied us with a great combination of commonly available products, including Arduino Mega2560 and LCD keypad shield.
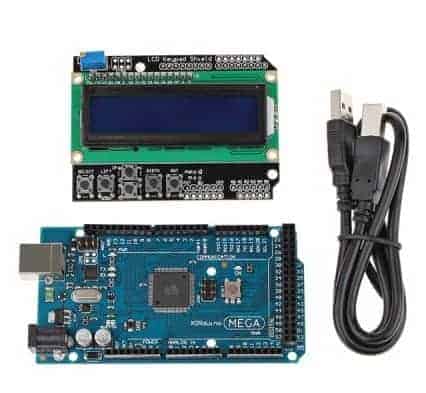
Arduino Mega2560 comes with powerful AVR ATmega2560 microcontroller featuring 54 I/Os, 256KB flash, 4KB of SRAM, and 4KB of EEPROM. It has standard Arduino header layout extended with tens of additional that are not occupied by shields. They can be successfully used with additional gear.
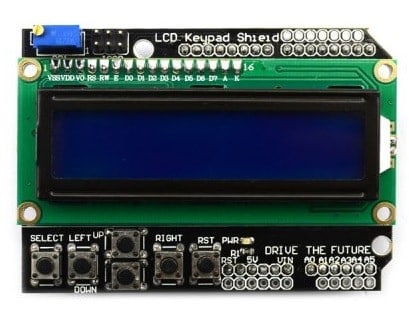
The LCD keypad shield is one of best choices if you want to have an LCD and button controls in compact form. LCD is interfaced in 4-bit mode by using 4 (D4), 5 (D5), 6(D6), 7(D7), 8(RS), 9(E) and 10 (backlight PWM)digital pins. Five buttons are connected to single Analog 0 pin. Buttons are connected to resistor divider network where each button press is decoded by voltage drop. This is a very efficient way of preserving Arduino pins. You don’t need to worry about driving LCD and how to read buttons properly. There is a handy library written to easy the task: LCDKeypad.zip, which can be included in Arduino library directory.
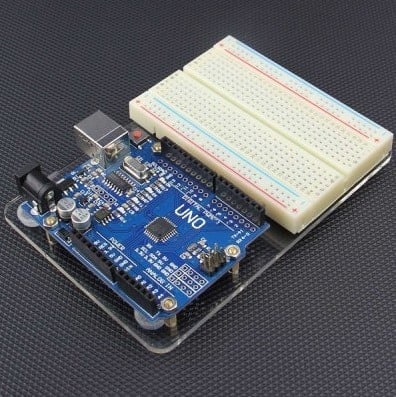
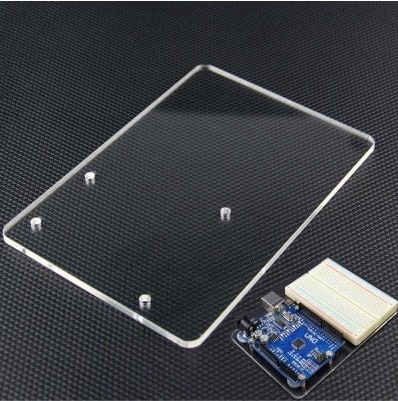
The package that came also included a handy acrylic platform plate which already had drilled holes for mounting Arduino and rubber buttons to prevent test platform from slipping on the surface. Using it definitely makes things much easier.

To give it a test, lets run a standard Arduino program which reads buttons and sets backlight intensity by changing PWM signal on pin 10:
#include <LiquidCrystal.h>
#include <LCDKeypad.h>
//contrast step
#define DELTA 10
LCDKeypad lcd;
//initial backlight
unsigned char bckl=150;
void setup(){
 pinMode(10, OUTPUT);
 analogWrite(10, bckl);
 lcd.begin(16,2);
 lcd.clear();
 lcd.print("    Aadjust");
 lcd.setCursor(0,1);
 lcd.print("   Backlight");
 delay(1000);
}
void loop(){
 int btn;
 lcd.clear();
 lcd.print("Up and down keys");
 lcd.setCursor(0,1);
 lcd.print("Backlight:");
 lcd.print(bckl);
//infinite loop of setting backlight
 while(1)
 {
 //wait for button
 lcd.blink();
 while ((btn=lcd.button())==KEYPAD_NONE)
 {
 }
 delay(50);
 lcd.noBlink();
 //wait for button release
 while(lcd.button()!=KEYPAD_NONE)
 {
 }
 //adjust the backlight
 if (btn==KEYPAD_UP)
    {
      if ((0xFF-DELTA)>=bckl)
        bckl +=DELTA;
      else bckl = 0xFF;
    }
    else if (btn==KEYPAD_DOWN)
    {
      if (DELTA<=bckl)
        bckl -= DELTA;
      else bckl = 0;
    }
 lcd.setCursor(0,1);
//clear second LCD line
 lcd.print("                ");
 lcd.setCursor(0,1);
 lcd.print("Backlight:");
 lcd.print(bckl);
 //set new backlight
 analogWrite(10, bckl);
 }
 }
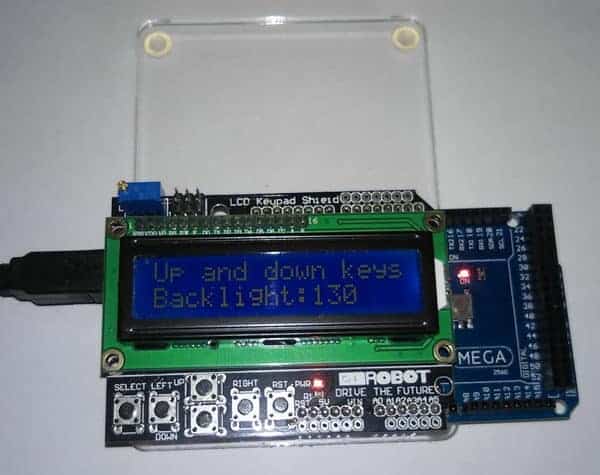
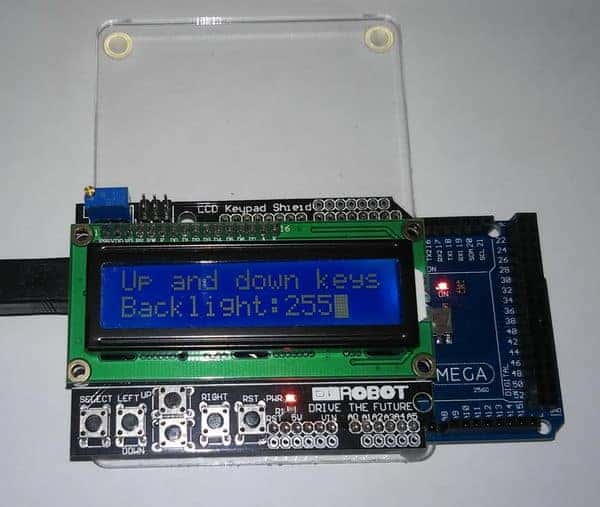
As you can see minimum PWM value can be set to 0, meaning that backlight is turned OFF, and 256 when LEDs are lit at maximum. By pressing buttons PWM value can be changed in the step of 10.
As you can see in code, in order to drive LCD, a standard Arduino LCD driver is used where pins are connected as follows: LiquidCrystal lcd(8, 9, 4, 5, 6, 7);
As you can see, setting your first electronic project is very easy when you have all building blocks. If you are looking for more Arduino and shield options, check out our partner store, gearbest.com, where you can find lots of electronics gear to start with.