Projects that are probably finished and put in an enclosure always catch an eye rather than a PCB prototype with multiple wires showing up. Of course, a project that does its job is fine enough even without a nice shell. But what if you don’t want your board to be exposed. Then put your project in a box. From this point, you need to be an electronics engineer and designer in one. Probably everyone has their own way of putting projects in the boxes, but few tips can save time and nerves.

Let’s go through things to keep in mind while looking for boxes and planning necessary tasks:
- If you have buttons that need to be accessed through the case, find a shallow enclosure or tall controls.
- If there is a display you want to read but don’t enjoy a big hole in the lid, look for an enclosure with a clear top.
- If environmental conditions may be a factor, find an enclosure rated for the needs you expect your product to experience. Take a look at these IP ratings. Many manufacturers follow the IP rating system for describing enclosures.
- Maybe your project has lots of switches or external ports; try a box with tall sidewalls.
- On another environmental note, if you plan on having buttons or connectors, keep in mind you’ll want those rated for the conditions you are expecting as well (rain, dust, etc.).
- Some sealed buttons and switches are available for outdoor use; try searching your favorite parts supplier; they should have some.
These tips are fantastic to have in mind before you start a project. If the project is for indoor use only, it doesn’t have to be strict with these environmental conditions. Focus on ergonomics, size, and other things that would help to build and use and maintain. What I like to do is to think things ahead:
- Think about enclosure even before PCB tracing.
- Get the most proper size of the box.
- Don’t buy metal boxes if you don’t have to. Metal is more brutal to process. Choose plastic.
- Measure inner dimensions and hole positions for PCB stand-offs.
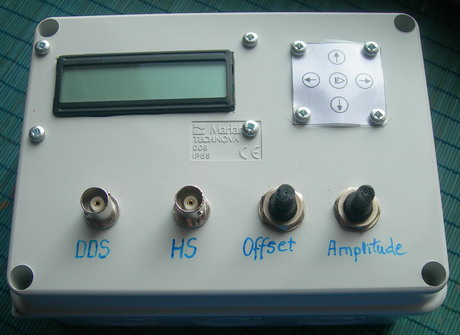
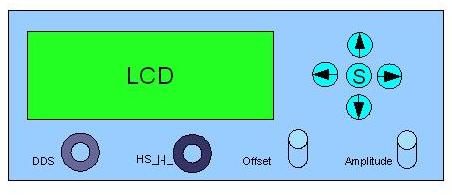
- Think and draw on a paper sheet where you want external parts to be placed like LCD, LEDs, buttons, switches, connectors, heat sink, etc.

- After you have these things planned, then it’s time to draw a PCB where you can quickly leave space for screws and push larger-sized electronics components around so they wouldn’t stand in the way of various outputs.

- After You have PCB ready to go, look through again as things may not go as planned. There can be situations when parts are not exactly in the same place where you wanted, or you had to replace some parts with different. Just see if you don’t need to shift some holes around.
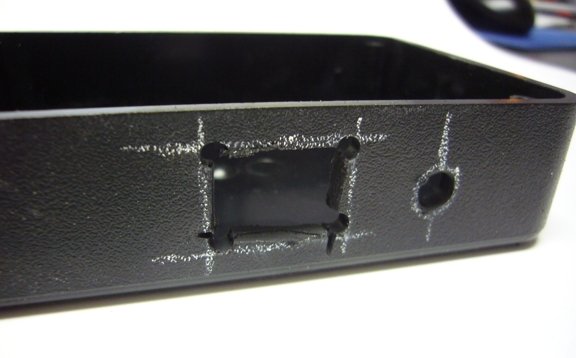
- If things are OK, then draw guidelines on a box.
- The best tool to work with plastic (and metallic) is a Dremel. If you need to drill a square hole, use a Dremel drill to make small holes on the corners as guides and starting points for a jig-saw or knife. Fine-tine the holes with a sanding tool.

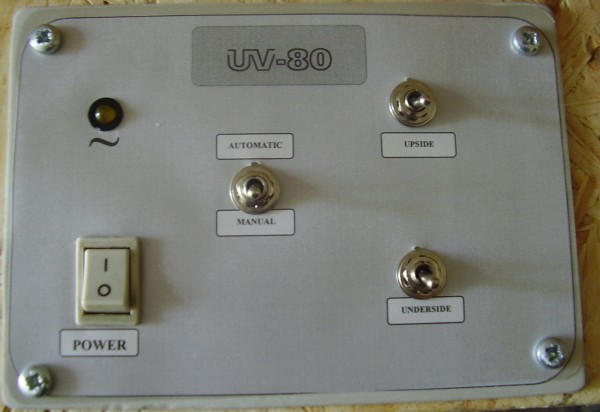
- When everything is set don’t forget to put labels so not only you know what particular switch or hole is for.

I hope you find something useful.

