Are you a business owner looking to increase brand awareness? Do you need more customers to find you online?

Your business won’t be successful if target customers don’t find your products. That’s why you need to invest in product photography.
If you don’t have any experience in product photography, you may not know where to begin. Also, you may believe that you don’t have the resources needed to take compelling product photos. If so, you’re in the right place.
Today, we’re sharing a simple guide to DIY product photography. Let’s explore what that means and why it’s important for your brand.
Choose the Right Equipment
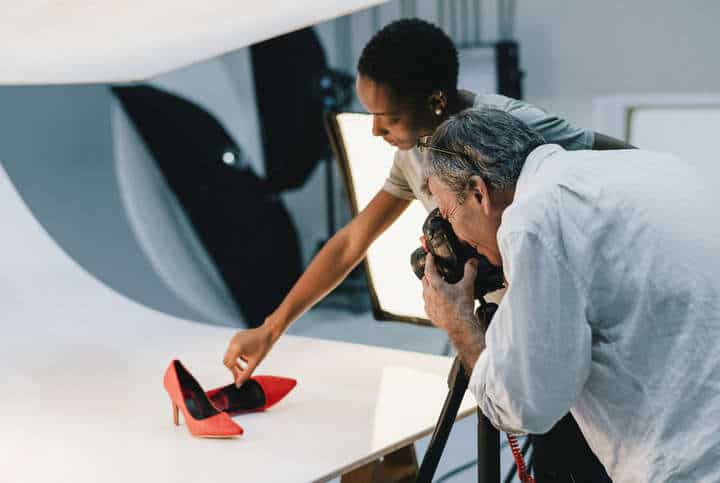
High-end cameras and lenses can ensure that images are of the highest quality. A good lens can also be used in taking into account the product that is being photographed. Tripods are a must-have for consistency and ensuring that all pictures are sharp and vibrant.
Understand Proper Lighting
Natural lighting should be the primary source of light. Position your business products near a window to take advantage of bright and diffused daylight.
To fill out the natural light, you can also use a white reflector on the other side of the product to distribute the light from the window. Extra LED photography lights and flashes can be used when more control over the lighting is required. These extra lights can highlight the product, define shadows and create the desired mood for the image.
Select an Appropriate Background
If you’re shooting larger products, use a pure white seamless paper or muslin backdrop. It can give a clean and neutral canvas that works with a wide range of colors.
A plain tiled floor or wall can work as a good backdrop if you’re shooting smaller products. Textured surfaces such as wood or fabrics can give interesting and fun effects to bring out the colors of your product.
Prepare Your Subjects
Choose a flat surface to get even lighter and avoid any awkward angles. Use the product front and center to show off its features.
Make sure its features are side by side with whatever props you add to create different perspectives. Try to position your product to take advantage of softer and more even lighting.
Enhance Your Shots With Photoshop
You can adjust contrast, saturation, black-and-white levels, and other essential features in need of editing photos. You may opt to add more elements to scenes, fix glare, and generally adjust for any other flaws in the photo.
You can also crop the images to focus on the specific product, and even add special effects such as vignetting, fades, and layers. With Photoshop, you can turn picture into line drawing to make your photos unique and stand out.
A Guide to DIY Product Photography
DIY product photography is an affordable and powerful way to showcase your products. The many tips included in this article show how easy it is to take great product photos.
By reading this guide, it’s possible to take high-quality photos with minimal costs. Start experimenting today and show why your product is the next must-have item.
Do you need more help? Visit our website to find more interesting content.


